ABEL Bridge User Guide
ABEL Bridge (abel-bridge.qday.io) is the official cross-chain tool connecting the Abelian blockchain and the QDay network. It allows you to bridge your ABEL tokens from the Abelian network and mint them as wABEL (Wrapped ABEL) tokens on the QDay network, enabling participation in the QDay DeFi ecosystem (staking, swapping, etc.).
Prerequisites
Before getting started, make sure you have:
- Installed and configured MetaMask Wallet
- Installed the Abelian mobile wallet (iOS / Android) with sufficient ABEL tokens
Step 1: Connect MetaMask Wallet
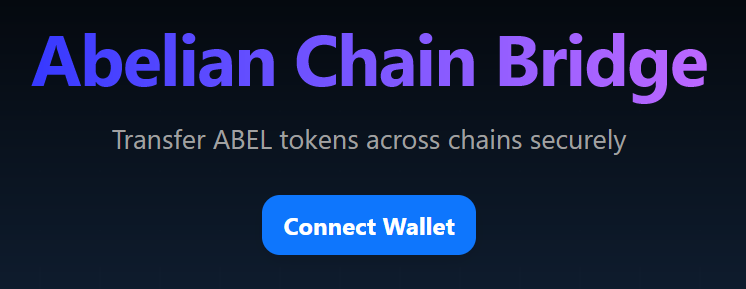
Open your browser and go to https://abel-bridge.qday.io.
Click the "Connect Wallet" button on the page.
In the wallet selection popup, choose MetaMask.
MetaMask will prompt you to select an account. Confirm your account and click "Next".
On the permissions page, click "Connect" to authorize the bridge to access your wallet address.
If you haven't added the QDay Mainnet to MetaMask yet, the bridge may prompt you to switch networks — click "Switch Network" to add and switch automatically. For detailed steps, see MetaMask Wallet Guide — Add QDay Network.
Once connected, your QDay wallet address (e.g.
0xfA...5AE1) will appear at the top of the page.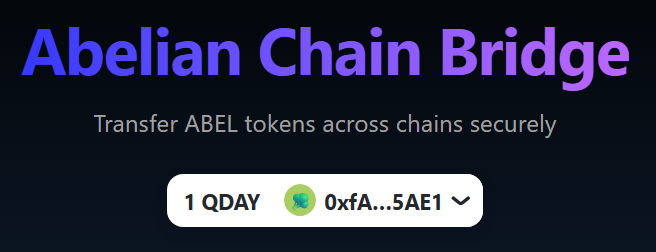
Note
Make sure MetaMask is switched to the QDay Mainnet, otherwise the bridge may prompt you to switch networks.
Step 2: Fill In Bridge Details
2.1 Enter Amount and ABEL Wallet Address
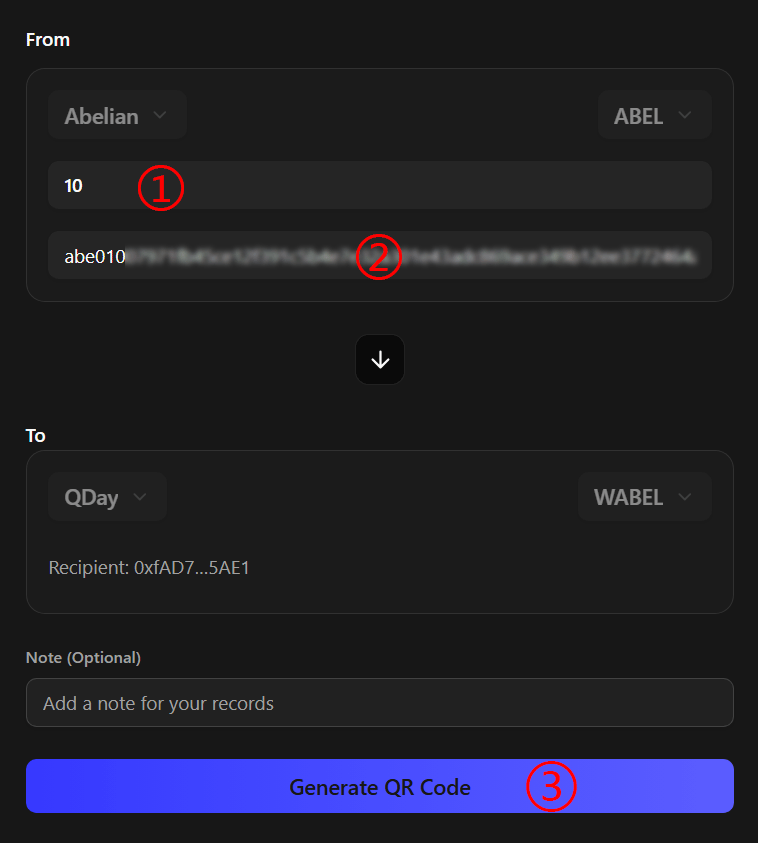
After connecting your wallet, the page moves to the input stage automatically:
- Fill in the ABEL amount ① and your Abelian wallet address ② in the From section.
- Confirm that all information is correct, then click the "Generate QR Code" button ③.
Notes
- From section: Network is pre-set to Abelian, token is ABEL.
- To section: Network is pre-set to QDay, token is wABEL.
- The Recipient field is automatically filled with your connected MetaMask address.
- Memo (optional): You may add a personal note — it does not affect the transaction.
- Double-check your Abelian wallet address carefully — an incorrect address may result in failed transfers or permanent asset loss.
2.2 Scan QR Code with Abelian mobile App
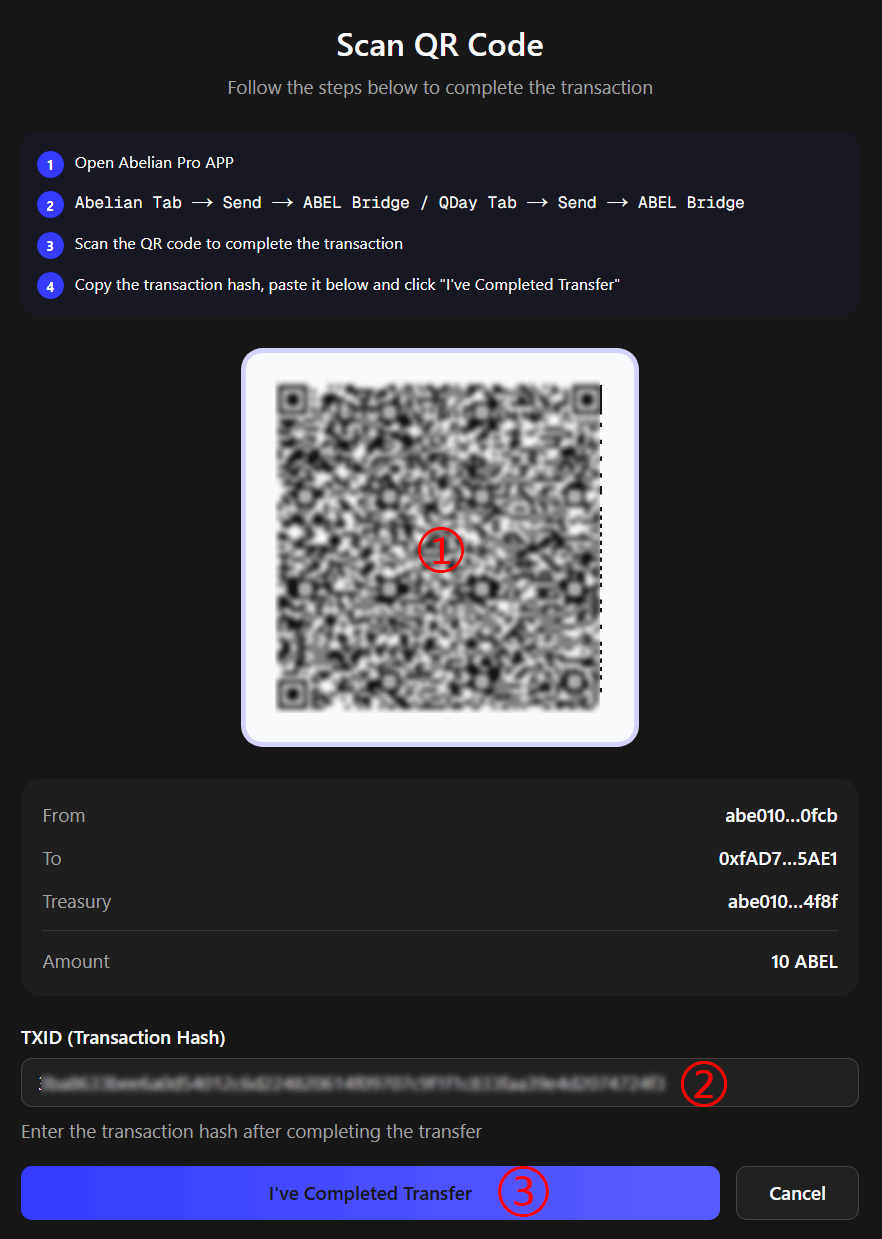
- The page enters the Scan QR Code stage and displays step-by-step instructions along with a QR Code.
- Use the Abelian mobile wallet's scan function to scan the QR Code ① on the page. Confirm the amount and address, then complete the transfer.
- After the transfer succeeds, copy the Transaction Hash (TXID) from Abelian mobile App, paste it into the "Transaction Hash" field ② at the bottom of the page, then click "I've Completed Transfer" ③.
Important
- Always use the QR Code generated by the bridge to make the transfer. Do not manually modify any transaction information.
- Ensure the memo information is complete, otherwise the bridge transaction may fail.
Step 3: Wait for Minting Confirmation
3.1 Wait for 3 Block Confirmations (Minting wABEL)
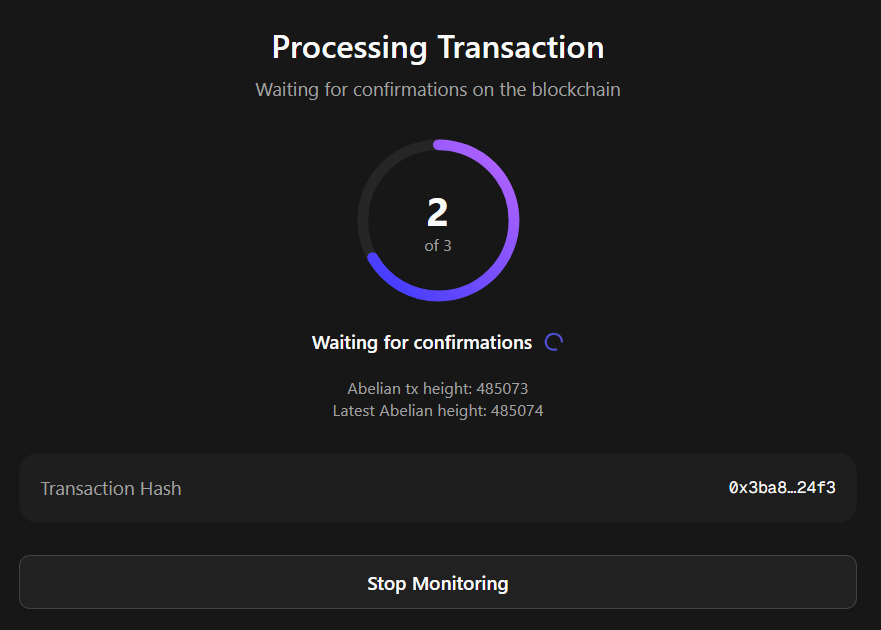
After clicking "I Have Completed the Transfer", the system enters the Confirming stage. The page shows "Processing Transaction" with a circular progress indicator:
- Progress is shown as 1 / 3 → 2 / 3 → 3 / 3, representing the 3 Abelian block confirmations required.
- The page also displays the Abelian transaction block height and the latest Abelian block height to help you track progress.
Tip
Each Abelian block takes approximately 2–3 minutes, so the full confirmation process takes about 6–10 minutes.Please be patient. Just entered the confirmation waiting stage, and the page shows "Transaction not yet indexed." Don’t worry, please wait patiently for 3 block confirmations. If you need to stop monitoring, click the "Stop Monitoring" button at the bottom of the page.
3.2 Bridge Complete — wABEL Minted
Once all 3 block confirmations are complete, the page displays "Bridge Successful!" along with a transaction summary:
| Field | Description |
|---|---|
| You Received | The amount of wABEL minted (e.g. +10 wABEL) |
| Transaction Hash | Clickable link to view details on the QDay blockchain explorer |
| From | Your Abelian wallet address (abbreviated) |
| To | Your MetaMask wallet address (abbreviated) |
| Previous Balance | Your wABEL balance before bridging |
| New Balance | Your wABEL balance after bridging |
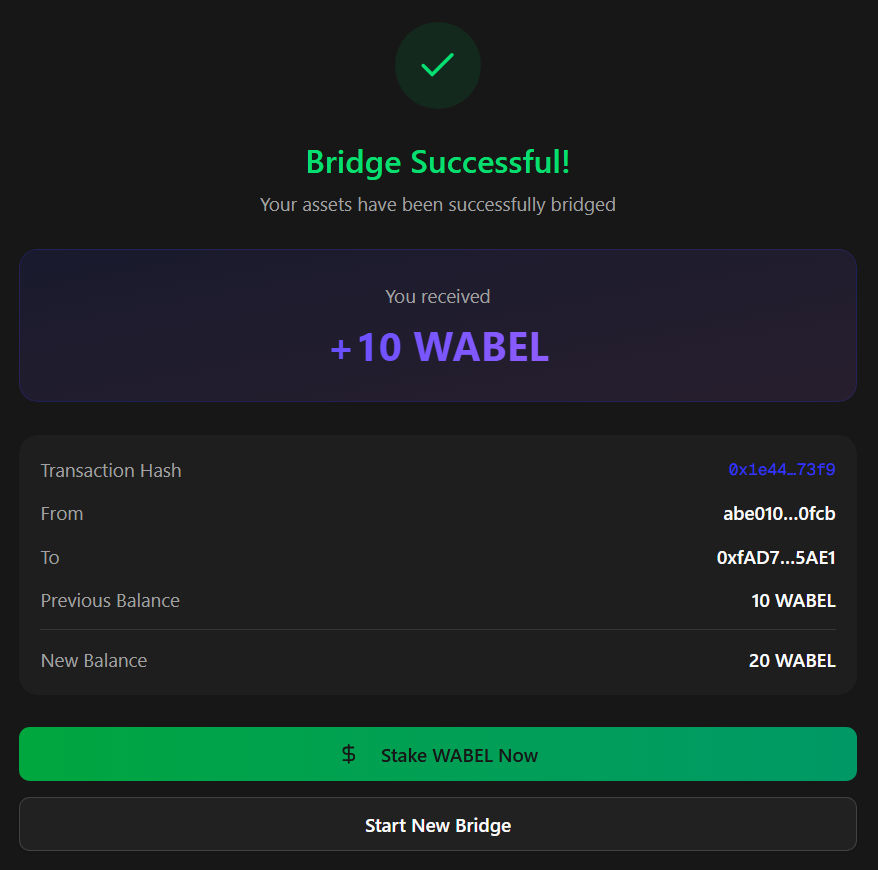
After completion, you can:
- Click "Stake wABEL Now" to go to the ABEL Staking page and start earning daily QDAY rewards.
- Click "Start New Bridge" to initiate another bridge transaction.
3.3 View Cross-Chain Transaction History
The "Recent Transactions" panel at the bottom of the page displays all cross-chain transaction history for your connected wallet, including time, amount, and status — making it easy to track every bridging record. 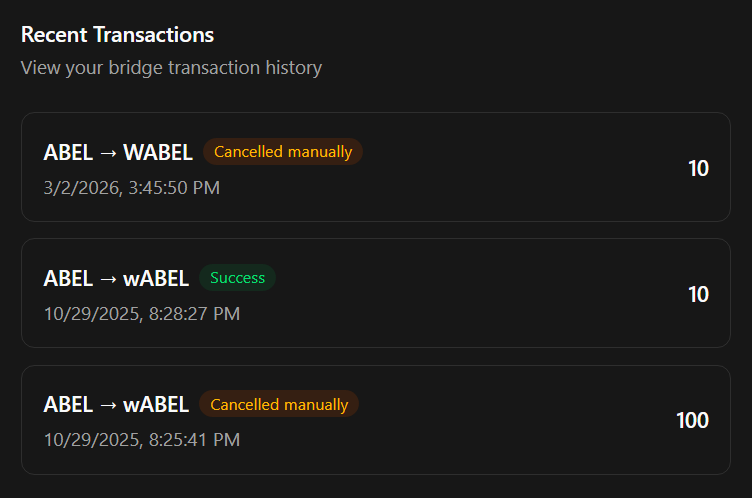
FAQ
Q: How long does bridging take? The entire process typically takes 10–15 minutes: Abelian network confirmation (6–10 min) + bridge processing (1–2 min) + QDay network confirmation (1–3 min).
Q: Why are 3 confirmations required? The Abelian network requires 3 block confirmations to ensure transaction security and irreversibility. This is a standard security mechanism for the bridge.
Q: What if I still haven't received wABEL after 30 minutes?
- Check the Abelian blockchain explorer to confirm the transaction was successfully submitted.
- Verify that the transaction hash you pasted is correct and that the memo information is complete.
- Check the bridging status in the bridge's "Recent Transactions" panel.
- Contact QDay support and provide your transaction hash.
Security Warning
- Always access the bridge through the official link: abel-bridge.qday.io. Beware of phishing sites.
- Carefully verify all wallet addresses — an incorrect address may cause permanent asset loss.
- It is recommended to do a small test transfer first to confirm the process works before bridging large amounts.
- Save your transaction hash for future reference and tracking.